Car detailing is not an exact science. In fact, for many car lovers, finding the precise technique that fits them best is part of the experience. Sometimes, using different tools, supplies, and cleaning media that might cause damage is beneficial for DIYers to ‘learn by doing’. One important step of detailing is paint correction or how to polish your car. And this is the one task where you don’t want to screw up – as the cost of repairing or replacing clear coatings or paint defects is extreme.
If you were to ask 100 different auto detailer their thoughts on DIY paint correction, you would most likely hear just as many different opinions, ranging from “it’s very simple” to “don’t ever even try it”. In most cases, these are the opinions of people who do this for a living. So, it makes sense that they would have such a diverse opinion on the topic. There are just as many opinions on protective coating products.
The truth is – paint correction or polishing of paintwork is a complicated task. There are many automotive care tasks that leaves paint swirl marks in your car’s clear coat, and removing these marks requires patience, specialty machine polishing equipment, time, and a preparation technique to fix a scratch from the painted surface.
That said, as long as you are willing to take the time, make the necessary investments, and lose some blood, sweat, and tears, you can enjoy the fulfillment of seeing your car with a shiny, smooth coat of paint – with limited surface imperfections.
Below, we are going to dive into more details regarding paint correction, so you have all the facts needed to determine if you’re up for the challenge of a DIY paint correction project. Before reading more – take a few minutes to watch the video by Adam Cote.
What is Paint Correction?
The process of paint polishing involves removing imperfections in a car’s clear coat finish and thus restoring it to a better condition. For professional paint correction service, the most important steps involved in the process are:
- Cleaning and completely removing grime and debris
- Wet sanding and leveling
- Applying wax and polish
- Paint sealing
Some of the most common causes leading to a need for paint correction include:
- Fine scratches
- Spider webs
- Waste from animals
- Water spots
- Damage caused by inexperienced detailers
Some scratch removal or paint imperfections can be fixed solely with automotive waxes or paint sealant however, this is only a short-term fix comparable to taping shut an open wound. To truly fix a car’s paint imperfections, the best way to go is with full-on paint correction.
When is Paint Correction Necessary?
When a car is being washed in a car wash or by hand, the idea is to use soap to cut into the top layer of dirt/grime on the paint job, then rub the soap throughout the surface to break all of the dirt/grime. If you were to continuously rub dirt in the same region of your car’s surface, the dirt would simply end up getting ground into the surface of your car, which creates minor scratches in your car’s clear coat – even if you use a microfiber towel.
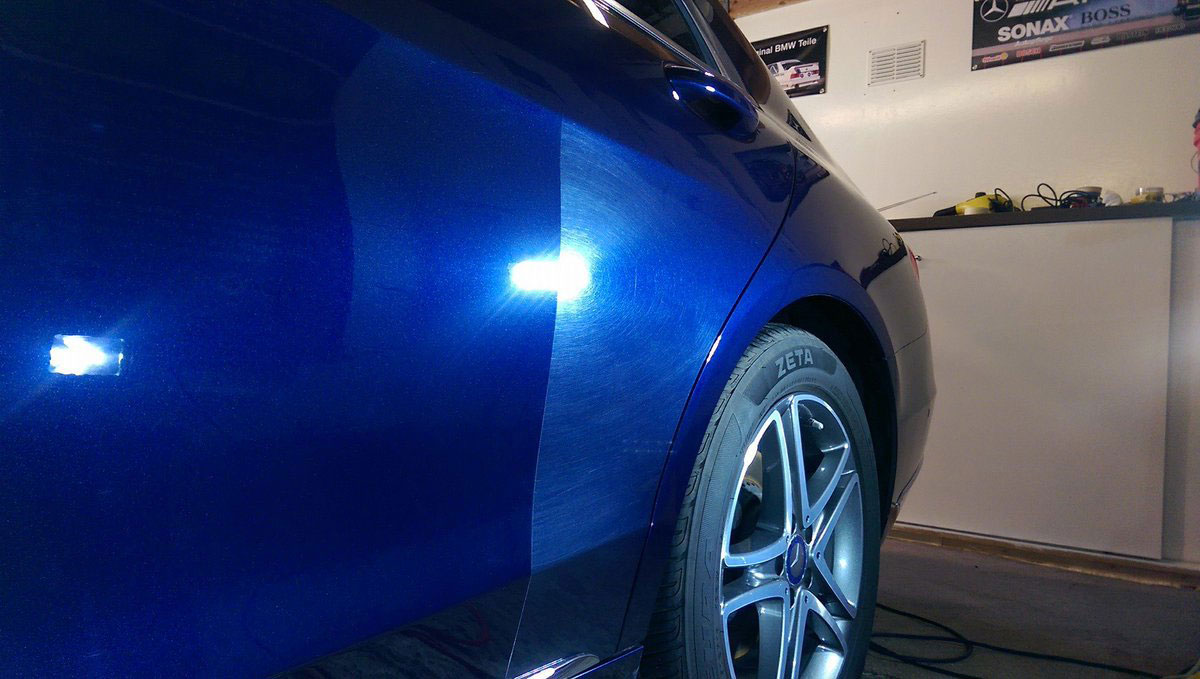
This is a classic example of showing the difference between a section that has been polished – and one that has not. The difference in the clarity of the paint is night and day.
This same idea applies to waxing a car. Even though you begin by washing your car, washing your car does not eliminate all the debris from your car’s surface. In fact, if you dry your vehicle with something like a terry towel, then there will be jagged-edged microscopic residue left on your vehicle’s surface. If you were to apply a wax-on / wax-off method, these tiny particles will get grinded straight into your car’s paint’s protective layer.
The solution? Rather than using a wax-on / wax-off approach, the best way to fix scratches and/or swirl marks in your car’s clear coat is paint correction.
Why Do You Need to Polish Your Car?
Most people assume that the only reason to perform paint correction on your car is to enhance its visual appearance. This, however, is not the case. If your car paint’s protective layer (clear coat) is damaged, the dirt and debris that lands on your car’s surface will eventually penetrate the surface more and more, leading to bigger problems such as sun damage, chipping, and color fading.
In order to keep their car’s paint looking shiny, fresh, and clean, most car owners take their cars to auto body or detailing shops to do a professional paint correction, or they try to do it on their own. The process of paint correction first fills in any gaps in the car’s clear coat and then applying a protective layer (such as paint sealant or ceramic coating) to reduce the potential of any future damage to the car’s clear coat.
The Process for Polishing Your Car
If you’ve made it this far, then you’re most likely still interested in finding out how to perform a paint correction for your car on your own. That’s great! Keep in mind that the steps outlined below are general best practices, and your vehicle or scenario might require special materials or a different process.
We recommend consulting with an auto body expert before undertaking a DIY paint correction project to ensure you follow the best course of action.
Below we’ve listed the general steps for removing swirl marks from your car’s paint. Other types of more extensive paint damage should always be repaired by a professional. This is for your own good – attempting advanced paint correction on your car can cause irreparable damage and end up costing a lot of money.
Step 1 – Preparation
Before starting any paint correction project, you must prep your vehicle. The general steps for the preparation process are:
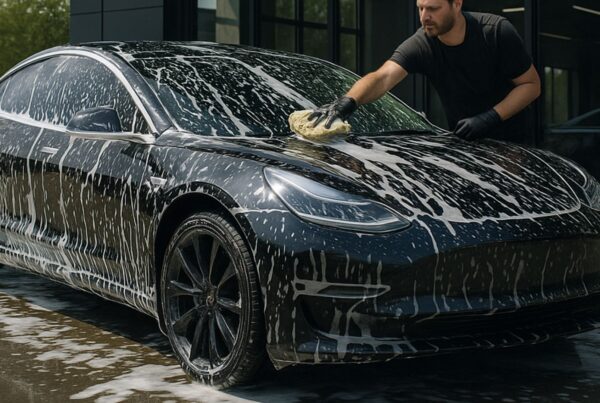
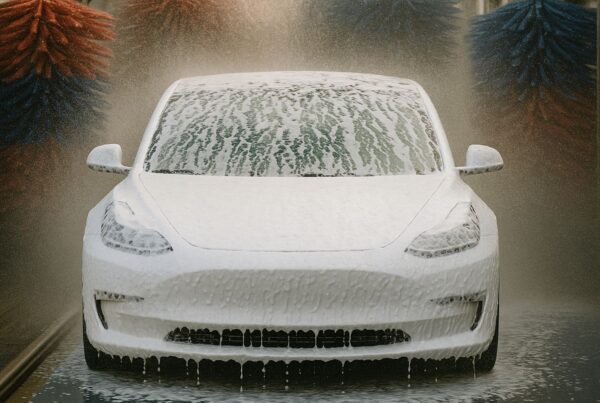
Wash your car: The first step is also called decontamination. This is where you’ll strip any standing dirt, debris, and contaminants from the vehicle’s paint surface. You’ll also loosen old layers of car wax and paint sealants at the same time.
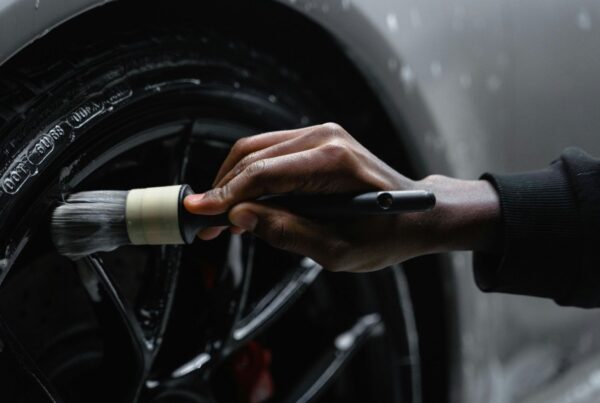
Decontamination Spray: This is where professional detailers vs DIYers differ. Most detailers prefer to use a clay bar or clay towel to remove the embedded debris in the clear coat. While this is rather effective, it’s also an area where mistakes and damage can be made. The key to effective clay bar is using lubrication – a LOT of lubrication. If you fail to do this – you can remove small parts of the clear coat.
To reduce the potential of damage, use a decontamination spray – which is an iron or fallout remover. This will “melt” iron particles like brake dust that can be trapped in the clear coat. Use as directed by the manufacturer.
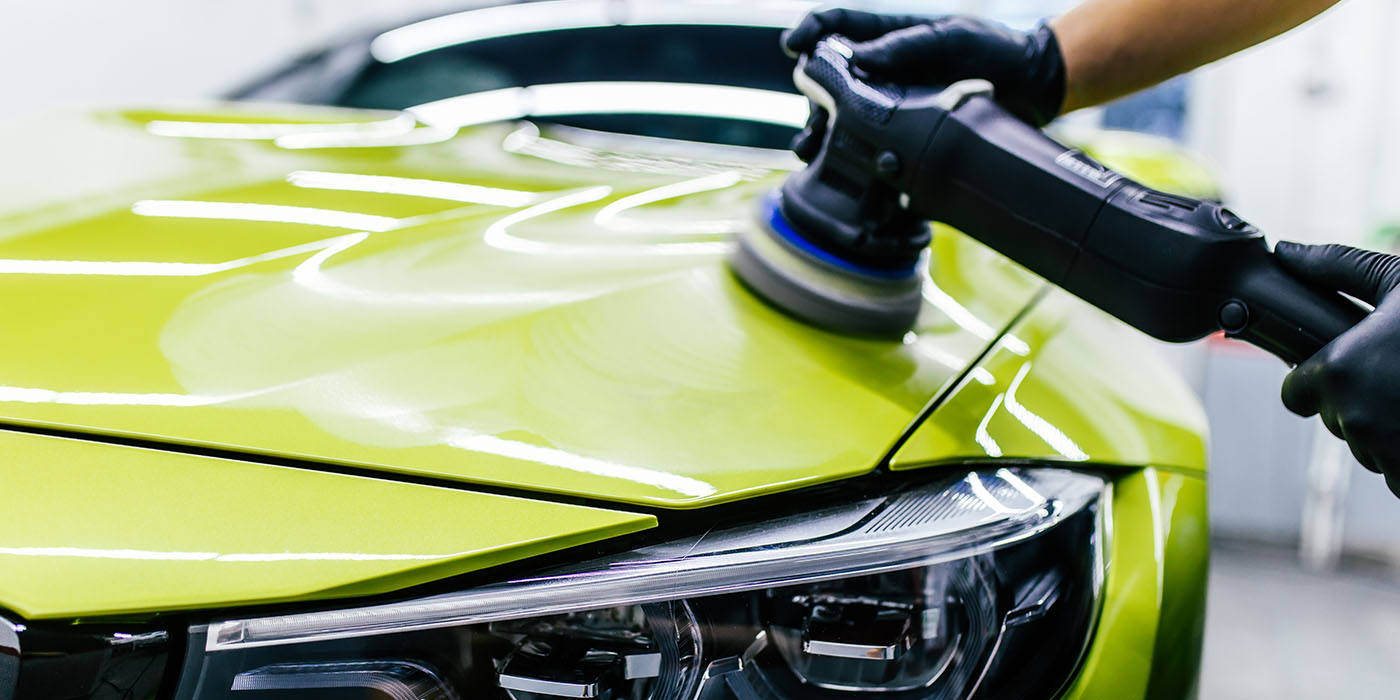
Step 2 – Leveling
Leveling – also known as phase paint correction – is a three-step process that consists of leveling surface scratches, polishing, and protecting. For this step, you will need an electric polish (also known as a sanding wheel) as well as a cutting compound and several microfiber cutting pads. You can use a dual action polisher as well for optimal performance.
Leveling your car’s paint surface entails the following three steps.
- Use a microfiber cutting pad and electric polisher to apply a cutting compound
- Replace the cutting pad with a new one about once every six square feet, since if you don’t, you will be digging a deeper and deeper hole
- Repeat this process for the entire vehicle or whichever area you are correcting
While many professional detailers prefer to color sand to level, this is not recommended if you are trying to DIY as it requires advanced knowledge and experience.
Step 3 – Polishing
Once the leveling step is complete, your car should appear smooth but with a dull finish. The good news is that is what polish is for. The polishing step involves the following:
- Start with a new, unused polishing pad and disk to ensure excess residue is not getting spread while polishing
- Apply the polish in a pattern which follows your vehicle’s body lines (you can see this process in the video above)
- Change pads frequently as well as with each new coat of polish. On average, 2 to 3 polish coats should be enough for leveled clear coats
Step 4: Protecting the Vehicle
By this point, the paint correction process is complete. You’re not done yet, though. Assuming you have been careful and followed the steps outlined above, you should no longer be seeing paint swirls on your car’s surface. Sure, you can use a wax or sealant, but there are better products these days that protect and enhance shine.
However, now it’s important to apply a paint coating to prevent yourself from needing to go through the correction process again sooner rather than later. There are multiple ways of protecting your vehicle’s paint surface, but by far – the best option is to apply a nano ceramic coating like Ceramic Pro 9H.
What Products Are Best for Protecting After Polishing Your Car
If you’re a true car enthusiast, you might be aware of the growing group of DIY nano ceramic coatings. But these products are more hype than hope. While some are easier to apply than others, the results are mixed. Plus, if you don’t have a garage, or controlled environment, applying can leave high spots – leading to more correction.
To avoid this problem, consider using a professionally-applied nano ceramic coating like Ceramic Pro 9H. Our nano ceramic coating is only applied by professional installers, who are highly experienced, trained, and passionate about detailing. The coating service is offered in warranty-based packages, such as a Bronze package (2 year warranty), Silver package (5 year warranty) or Gold package (lifetime warranty).
When the professional auto salon installs the coating after completing the paint correction, it fills minor imperfections found in clear coats and other porous materials like glass, carbon fiber, vinyl wraps, paint protection film, and even solid metal like wheels. Once it hardens, it provides a long-lasting layer of protection that reduces the potential of light scratches, swirl marks, and damage due to chemicals or natural toxins.
If you’re going to invest the sweat equity in completing DIY paint correction, don’t take a risk with inferior DIY ceramic coatings. For a longer lasting paint protection solution, click the button below to receive a free estimate for Ceramic Pro 9H nano ceramic coating installation provided by an auto salon near you.