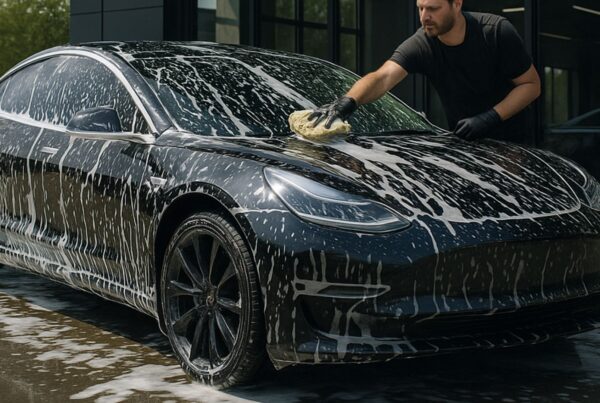
The DIY ceramic coating trend has been growing in recent years. The slew of ‘ceramic coatings for do-it-yourselfers’ make it seem that it’s a job that anyone can handle. All you need is to complete some ‘simple’ prep work – including a clay bar application over the car’s paintwork. The problem many car enthusiasts have is learning how to use a clay bar.
Removing splatter from bugs, sticky tree sap, and other bonded contaminants used to require some elbow grease, a bit of turpentine and you would be able to get the job done, hopefully without messing up your car’s paint. But the days of using chemical for bug splatter removal or a quick detailer are done – thanks to the modern clay bar.
If you are new to DIY car maintenance, it’s quite possible that clay bar treatment is a bit outside of your wheelhouse. But believe it or not, using clay to remove tiny imperfections and debris in the paint’s clear coat surface has been around for quite some time.
Today’s modern automotive clay is a lab created, synthetic product, that can be shaped and molded in multiple applicators. And while it’s commonly found in most professional detailing shops, there are still many questions that the average car owner might have about clay bar treatment.
Let’s explore some of the commonly asked questions about how to use a clay bar.
What is a Clay Bar?
A clay bar is a natural or synthetic tool consisting of a resin mixture and other synthetic ingredients that automotive detailers use to remove contaminants and pollutants from fiberglass, paint, glass, or metal. Basically, it’s one of the best and easiest ways of providing a clean surface.
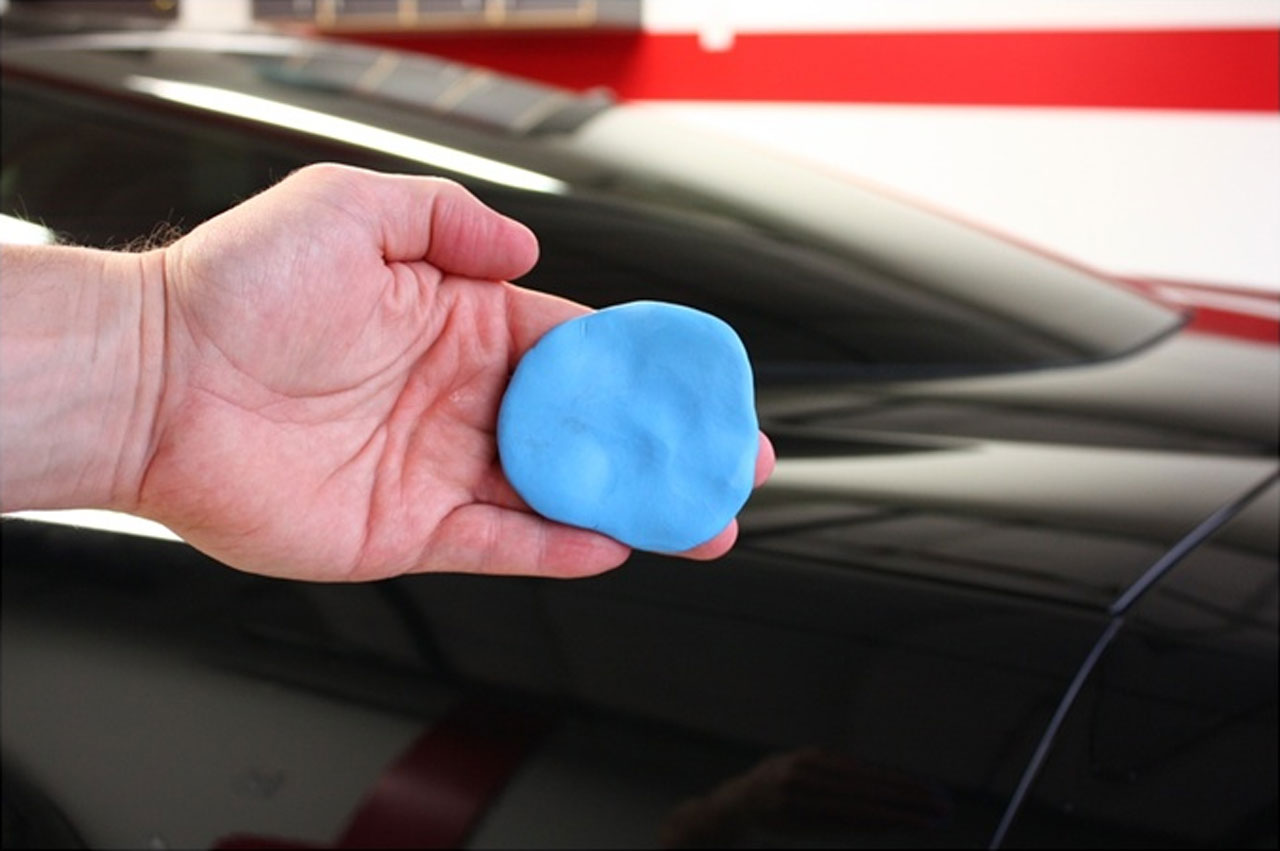
The average clay bar looks like this one pictured. It’s typically small enough to fit in the palm of your hand, is easy to shape, and glide over your vehicle’s paint surface.
It is comparable to natural clay, insofar as it is elastic and can be molded or stretched into different shapes. This means a clay bar can be flattened to fit a smooth surface like the surface of your car, while it automatically seeps into any small imperfections due to its elastic nature. If correctly used, small debris particles will stick onto the clay, leaving the painted surface clean.
There are grades of clay bars, and usually the rougher or harder grades are used as preparation before attempting to remove deeply imprinted debris. Harder clay bars, however, come with an increased risk of damaging your car’s paint and require that the vehicle be waxed after washing to fill any small holes.
Auto Detailing Clay Work: How Does it Work?
Clay bar treatment works by gliding across your car’s paint surface and grabbing any items that are on the surface, such as grime and dirt. Since clay is so sticky, it can even absorb particles that are bonded with the car’s clear coat. The tacky nature of clay requires lubricant to be applied to the surface of whatever is being clay barred to reduce the amount of friction and heat build-up, and thus helps reduce any potential paint damage.
If you decide to use a clay bar treatment on your car, if you follow the process that the manufacturer recommends, it will be safe and non-abrasive. Many professional automotive detailers prefer to use surface clay bars over polishes, since clay bars do not remove any clear coating from your car’s surface – as long as it is used with clay lubricant.
Most auto detailers and manufacturers sell spray lubricants that are designed specifically to work with their clay bars. However, if you want to do clay barring yourself, you can create your own clay bar lubricant by mixing water with automotive car shampoo.
What Does Clay Bar Treatment Remove?
Clay bar treatment is often used before a vehicle owner prepares to apply some sort of paint-protection, such as a ceramic coating, paint sealant, or PPF. This is because before applying any sort of coating, the surface should be completely smooth, which is what clay bar treatment does by removing all the debris and contaminants that are stuck to your car’s clear coating.
Some items which clay bar treatment removes are road grime, rail dust, brake dust, metal particulates, deposits from acid rain, bug splatter, sap, bird dropping stains and residue, and more.
When Should You Clay Bar Your Car?
A clay bar is used primarily when your decontaminating the car, truck, SUV, or other vehicle. It’s intended to remove embedded debris that is stuck in those tiny imperfections found in all materials that are porous in nature (meaning has tiny peaks and valleys). While you should clay bar your car before applying any sort of paint protection coating, you should consider doing it for other reasons as well.
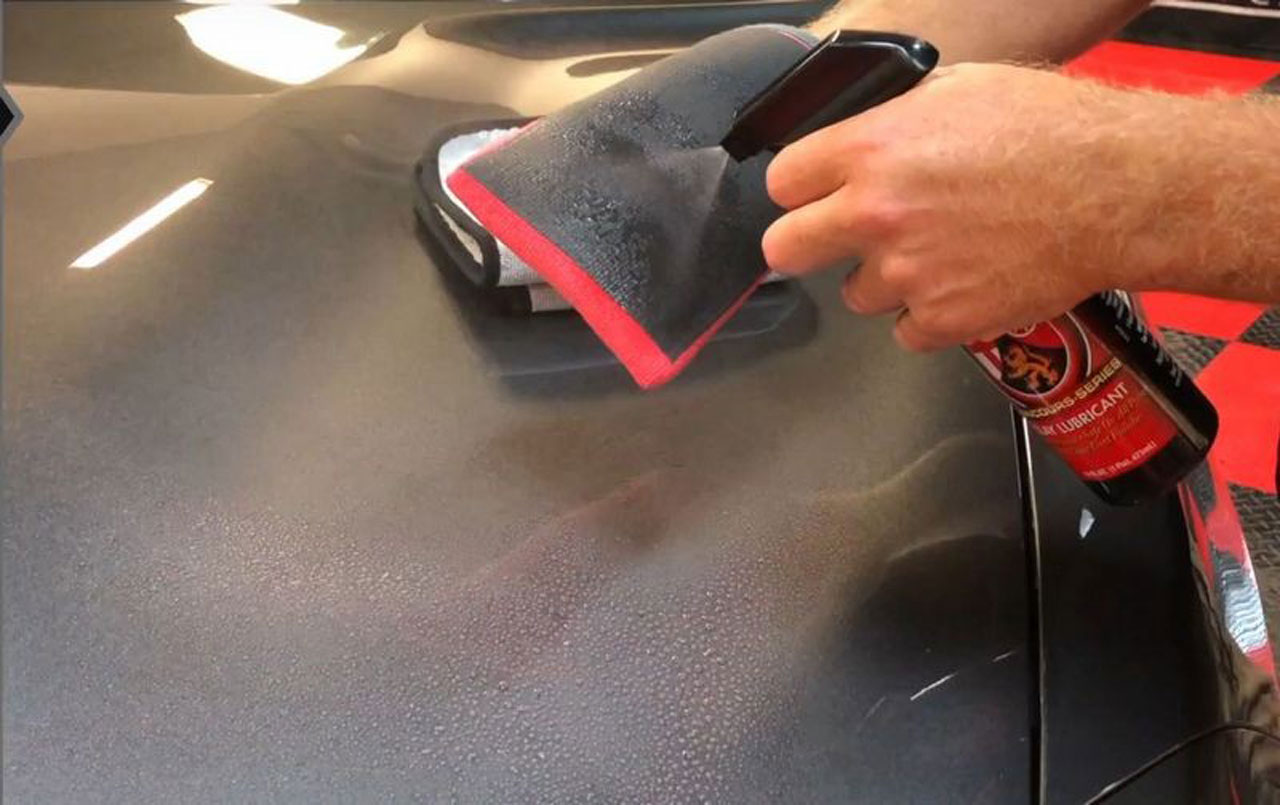
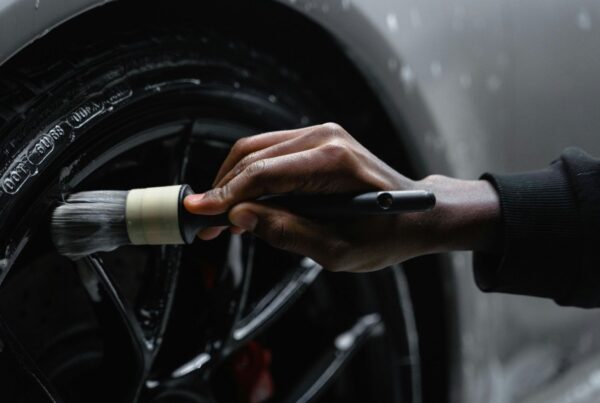
Another type of clay for auto detailing is the clay mitt. In this image, you can see a clay mitt being sprayed with a lubricant prior to applying on the surface. For optimal use, spray the clay lube on the surface of the vehicle too. With claying, there is no such thing as too much lubrication.
Some of the leading reasons to complete clay bar treatment include:
Prepping for any paint protection application – car wax, paint sealant, spray coatings, nano coatings, paint protection film.
- Detailing your vehicle
- Applying a new clear coating
- Installing vinyl wraps
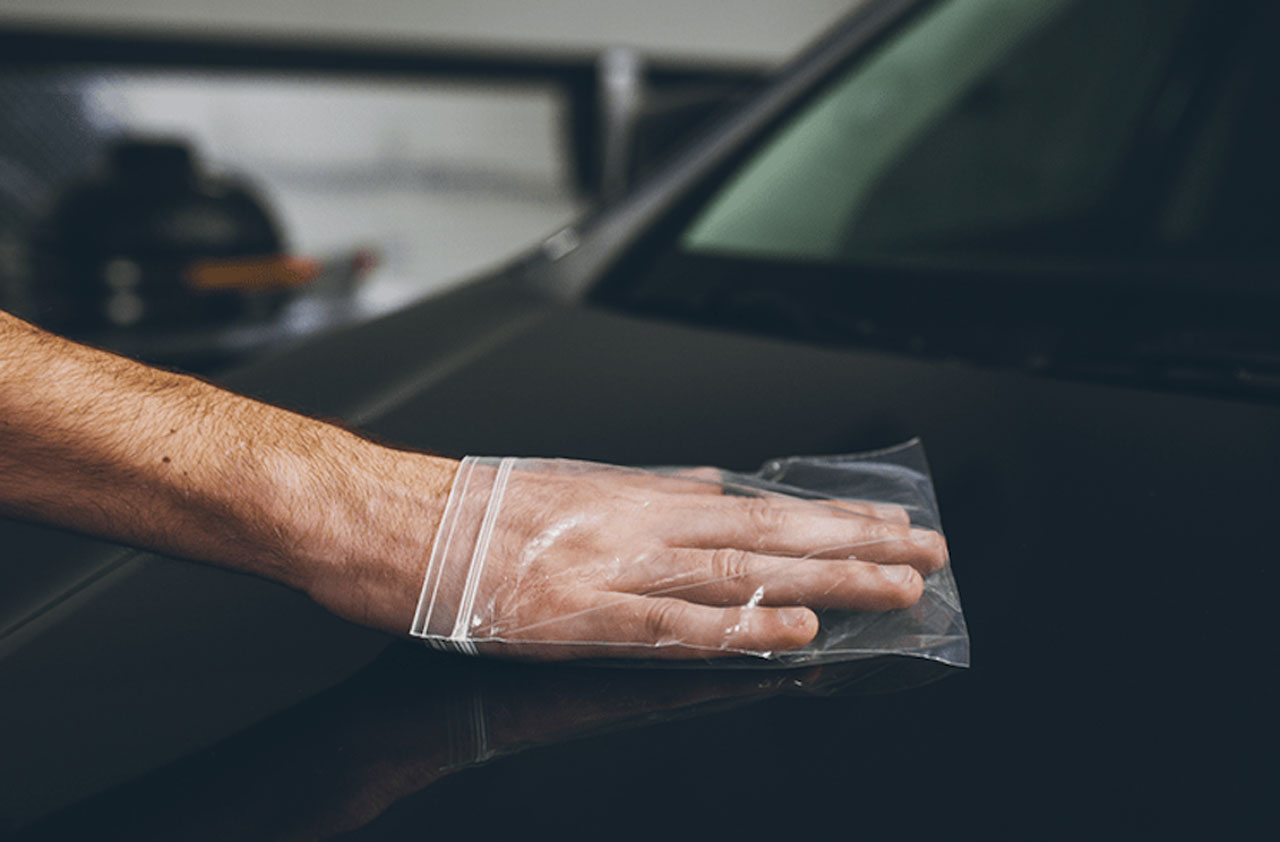
One of the tests used to know whether the paint surface requires paint cleaning clay, clay towel or clay bar treatment is called the plastic bag test. The bag test is an easy DIY test to help you determine if you should clay bar your car or not.
This process involves taking a standard sandwich or zip-lock bag and putting your hand inside it like a glove and feeling the surface of your car. The bag will help to amplify the degree to which you can feel small particles on the surface of your car, and you will thus be able to tell if there is a ton of grime that needs to be removed.
Steps for Using a Clay Bar or Clay Mitt
If you want to go ahead and do a clay bar detailing job yourself, then the process is pretty straightforward. Automotive clay is most often sold in either a 2 or 8-oz bar – a 2oz bar is usually enough to handle a complete treatment for most cars, SUVs, and trucks.
You will also need spray lubricant. Either use the one that is made specifically for the clay bar you purchase, or you can make your own using water and automotive soap. You can purchase many clay bar / clay mitt kits that will include everything you need – including the lubrication spray on Amazon.com or local auto parts stores.
Here are the steps for clay barring or clay mitting to remove debris and contaminants from your car:
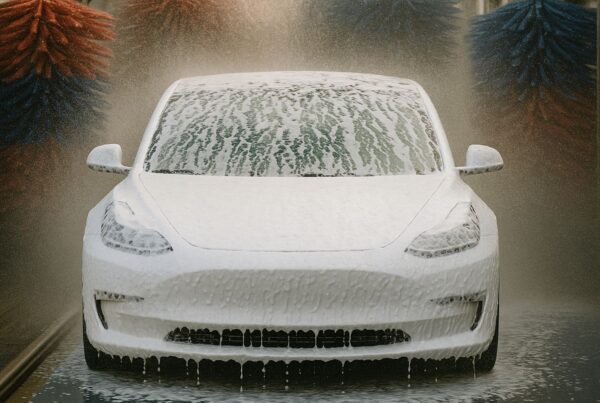
Wash and Dry Your Vehicle
The first step is to thoroughly wash and dry your vehicle. The best way to do this is with the two-bucket method discussed in depth in another article. This will remove the largest of the dirt and debris, giving you a good place to start.
Gather Supplies
To perform a clay treatment on your car, you have two options, both of which are sold as DIY kits: either a clay bar or a clay mitt. There are pros and cons to each, so it all comes down to whichever you prefer.
The supplies you will need are:
- Detailing clay bar or clay mitt
- Clay lube spray – you can buy a clay bar kit that has all these items.
- Clean microfiber towel
- Plastic sandwich or zip-lock bag
Pick a Starting Point
It is recommended to work on the paint finish one small section (about 2 ft. x 2 ft.) at a time. Pick any point, such as the front left or the front right to start. You will go through section by section in a circular fashion until you return to this same spot.
Spray the Lubricant
Take your clay bar lubricant and spray a large amount onto the surface of your car. The lubricant can’t damage your car’s surface, but the clay bar can, so more is better in this case.
Clay the Vehicle
After your car paint is fully lubricated, take the synthetic clay bar or mitt and gently rub it back and forth across the surface. You should feel the fine clay bar or mitt grabbing/picking up bits and pieces from the paint’s surface. Continue moving the clay bar or mitt backward and forward across the car, until you feel the level of grip start to reduce. Add more lubricant if needed.
Check Your Work
After you complete each section, you’ll want to use the bag test mentioned above on that section to make sure you’re done. Make sure to do this after each section before continuing to the next section, so you don’t get too far ahead of yourself.
Wash – Rinse – Dry the Vehicle
After the clay bar kit or mitt treatment is complete, I recommend washing your vehicle with a high-quality pH neutral car shampoo. Clay lubricant spray is basically concentrated car shampoo – diluted at a 4 to 1 ratio. As such, you’re going to have a LOT of stuck on soap on the surface of your vehicle when you are finished.
As a preventative measure, take time to complete a full two-bucket method car wash. This will ensure any residue has been completely removed from the surface.
Not Confident in DIY Clay Bar Treatment – Consider a Professional Auto Salon
While it seems easy enough, clay barring isn’t for everyone. In fact, if you don’t use enough lubricant, or a clay disc that is too aggressive, it’s easy to damage the clear coating on your vehicle paint and other materials while trying to remove surface contaminants.
If you’re not 100% confident in this DIY paint protection prep work project, consider bringing your vehicle to a professional auto salon. Expert detailers know all the tricks of the trade when it comes to decontaminating your vehicle’s paintjob and applying professional grade coatings like Ceramic Pro 9H.
Ceramic Pro 9H is a professional-grade nano ceramic coating, that is sold and applied by authorized auto salons across the globe. Our network of more than 3,500 auto salons and authorized installation centers will work with you to choose a paint protection solution that fits your needs, budget, and goals. Each of our packages comes with an actual warranty – something DIY ceramic coatings simply can’t offer.
If you’d like to speak with an auto salon near you, and learn more about superior nano-ceramic coatings, click the button below.