Welcome back to Car Detailing 101 – and insiders look at the process professional detailers take to turn your dirty ride into a hyper-shiny and clean head-turner. In our debut episode, we talked about the first step – which is cleaning and detailing your wheels. But have you ever wondered how a professional detailer washes a car during a detailing car wash?
Believe it or not, when an auto salon is undertaking a complete detailing project, they look for more cost and time-effective methods for each rudimentary step. And yeah, washing the exterior or clear coat and paint of your car, truck, and SUV is just one of the multiple steps included with a full detailing project.
If you’ve missed the first two episodes in this series, you can review them by clicking these links.
The Ultimate Guide to DIY Car Detailing
How to Clean and Detail Wheels & Tires
Now we’re going to introduce a car washing technique that might be new to you – the hybrid waterless car wash/two bucket method. To learn how this exterior washing program works – watch the video – then review the step-by-step instructions.
Understanding the Hybrid Waterless – Two-Bucket Car Wash Method
During a full detailing job, the car wash is simply one of the steps. Full detailing involves removing all dirt and debris, clay bar treatment or removing industrial fallout, followed by polishing or paint correction, and finally – applying paint protection.
A detailing car wash should remove standing dirt, bird droppings, mud, and tough debris that can cause scratching during additional tasks. And that’s exactly what this technique accomplishes. The soap encapsulates the dirt – as opposed to breaking it down. This permits you to wipe off the residual without scratching the surface – and without using gallons of calcium and mineral-rich water – which leads to water spots. Washing the wheel wells should be completed while detailing wheels and tires in step 1.
So – what do you need to accomplish this technique?
- A 2-gallon pump sprayer
- A hybrid waterless car shampoo
- High-Output Water Deionizing System
- Two Wash Buckets
- (2) Grit Guards
- Multiple Microfiber Towels (for washing)
- Separate Microfiber Drying Towel
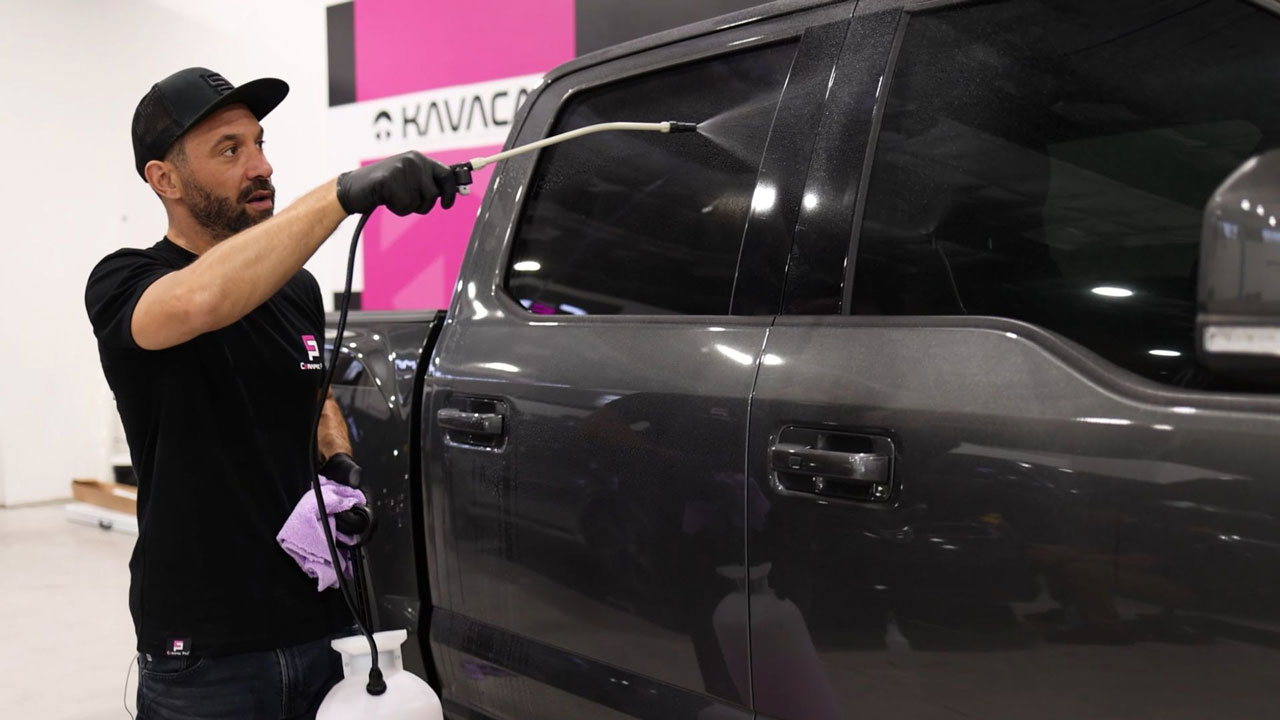
In the video above, Adam Cote goes over all the supplies we use to complete this initial car wash.
Step One – Remove Standing Dirt and Debris
How you go about accomplishing this step will depend mainly on the level of dirt and crud on your vehicle’s paint surface. If you just got home from a trip to the desert, the river, or off-roading, you should probably start by high-pressure washing the surface of standing debris.
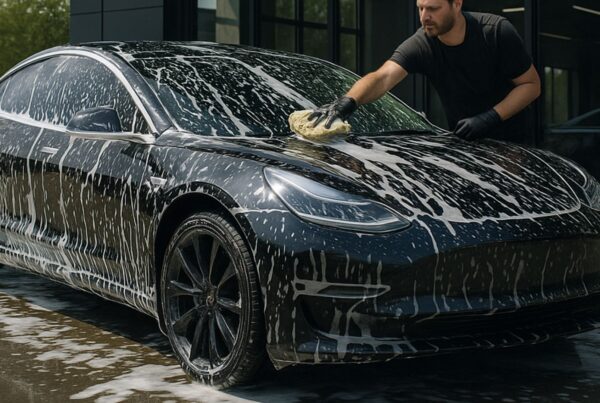
In this image, you can see Adam using a handheld pump sprayer to wash the vehicle with a waterless car shampoo solution. He mixes the soap with deionized or spot-free water.
However, if your car has moderate to light debris on the paint surface, you can proceed with this waterless hybrid technique.
Here is how we accomplish this in the video:
- Fill your pump sprayer with deionized water (or spot-free water)
- Add the recommended amount of hybrid car wash soap (we use Pink Wipeout in the video – which is a great product)
- Pump up the sprayer to create pressure, then spray the vehicle. You can work in sections if you’d like, but this will create some overlap.
Step Two – Integrate the Two-Bucket Washing Method
Once your vehicle has a good amount of hybrid waterless car wash solution on it, you’ll proceed to using the two-bucket method – with the same soap. You’ll notice in the video that you add water to the buckets FIRST – then add the soap. You’ll mix the two with your hand, with the objective to NOT create suds.
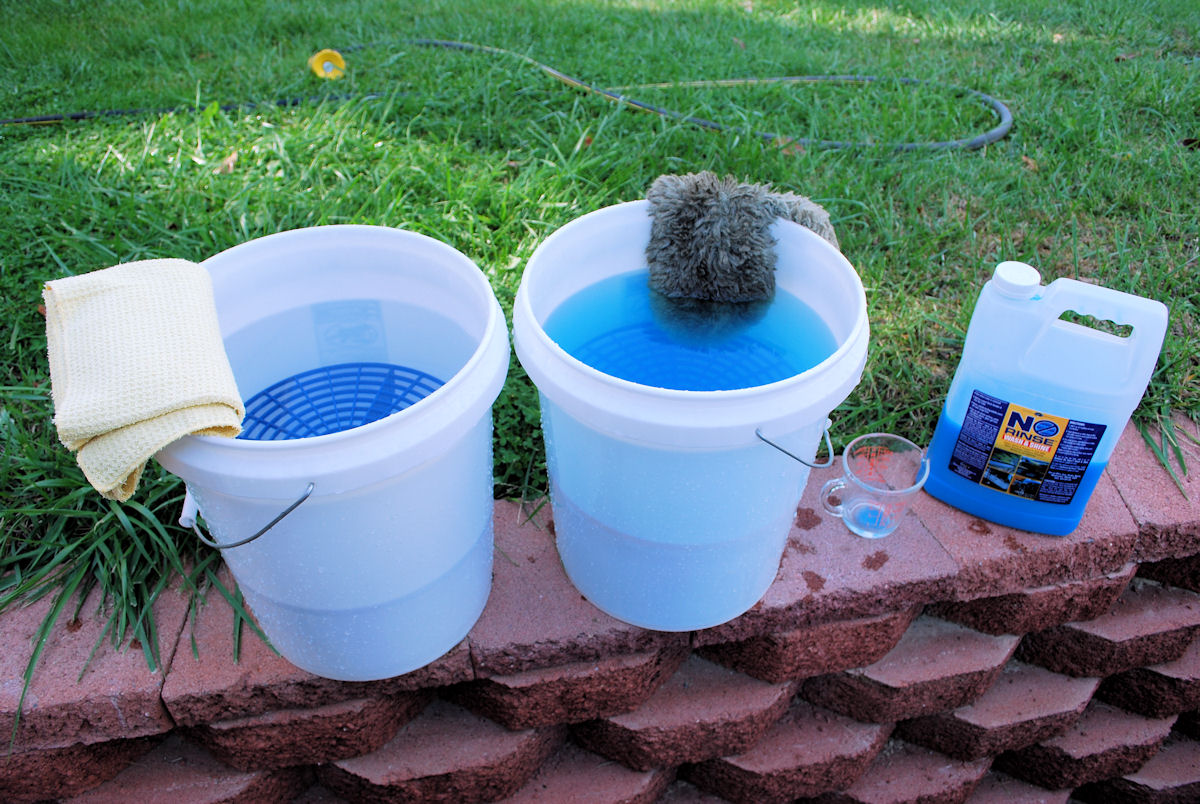
In this picture, you’ll see a great example of how your two buckets with a waterless car wash should look. Notice there are no suds in the soap bucket. To accomplish this – add the water first, then add the recommended dose of waterless shampoo.
For superior washing results, consider using high-quality microfiber cloths or smaller towels – like 16” x 16” in size. This will allow you to wash the surface quicker, to reduce the potential of drying on the car’s paintjob.
- Soak the wash media in the soapy bucket.
- Wash your vehicle in sections (such as a door panel, quarter panel, or fender).
- Work from top to bottom and left to right until you reach the bottom.
- Place the used wash media in the freshwater bucket and wring it out.
Put the clean wash media in the soapy water and continue with this process until you are finished.
Step Three – Drying
The last step in this hybrid waterless car washing technique is drying. You’ll notice we skipped the rinsing – which is the major benefit to using this wash technique. Waterless car wash soap does not need to be rinsed off. This makes it perfect for those living in regions with water restrictions or with “Karen’s” in the neighborhood – just waiting to report you to the HOA.
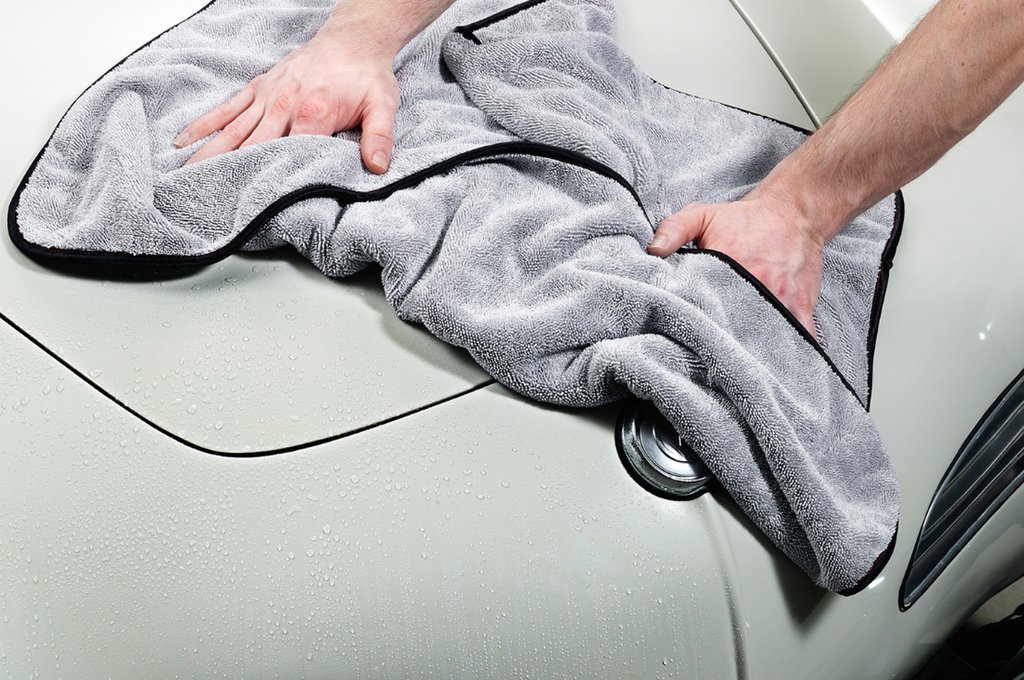
Here is a great way to dry a waterless wash.
Use a dedicated drying microfiber towel. The best type of drying towel is one that is a terry weave construction, with a 70/30 blend of polyester and polyamide. The higher polyamide in a microfiber towel, the more water it absorbs. A large towel – like one measuring 20 x 30 for example, can dry an entire truck in a manner of minutes.
If you’re in the detailing process, you don’t need to worry about getting the car 100% dry. The next step in this project is going to be clay bar or decontamination – which will involve using more lubrication and getting the vehicle wetter.
In the next installment of Car Detailing 101 – we’ll dive further into the exterior decontamination process – Everything You’ve Ever Wanted to Know About Claying a Car. For those who have watched the video or read the blog who would be more comfortable having a professional detailer take on this task for them – and possibly apply a nano-ceramic coating that will last for years, click the button to locate an auto salon near you.