Anytime you’re going to do something, it’s important to do it right from the start. Although many car owners opt to have a professional company install their ceramic coat, there is a growing segment of do-it-yourself enthusiasts who prefer to handle this task on their own. And quite honestly, there is nothing wrong with that. When you prep your car for ceramic coating, there are a few best practices that all consumers and detailers should follow.
A car owner will have a ceramic coating installed for multiple reasons, sometimes it’s meant to enhance the look and depth of car paint, while others, seek optimal protection against bird droppings, UV Rays, and other sticky substances that are hard to remove. Others just want the cool hydrophobic effect so they can stare at the beating water as it sheets off.
Regardless of your reasons, or if you are going to do it yourself, prep work is the first and most important step to ensure solid application. In today’s Ceramicpro.com blog, we are going to discuss the four-step proven process that our professional detailers utilize preparing a vehicle, boat, or airplane for professional ceramic coating product installation.
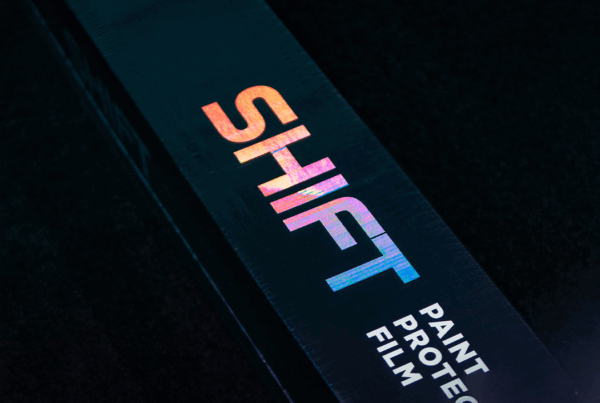
It’s a process that you can follow if you choose to install your own paint coating or paint protection solution. It’s also what professional detailers use to prepare the vehicle for paint protection film. So, let’s get started.
Step 1: Decontamination Car Wash
For a ceramic paint coating to bond with any substrate, that surface needs to be impeccably clean and free of debris. Professional detailers complete a four-step process that not only decontaminates the surface but removes minor imperfections that are found in the clear coat, or those tiny peaks and valleys that make up any hard surface.
Before we get too crazy about the prep and paint correction steps, it’s important to first wash the vehicle completely by hand. The process that we recommend is known as the two-bucket car washing method. It involves using one wash bucket with soap, and one wash bucket that is filled with fresh and clean water.
This video will show you how to correctly wash your car using this method.
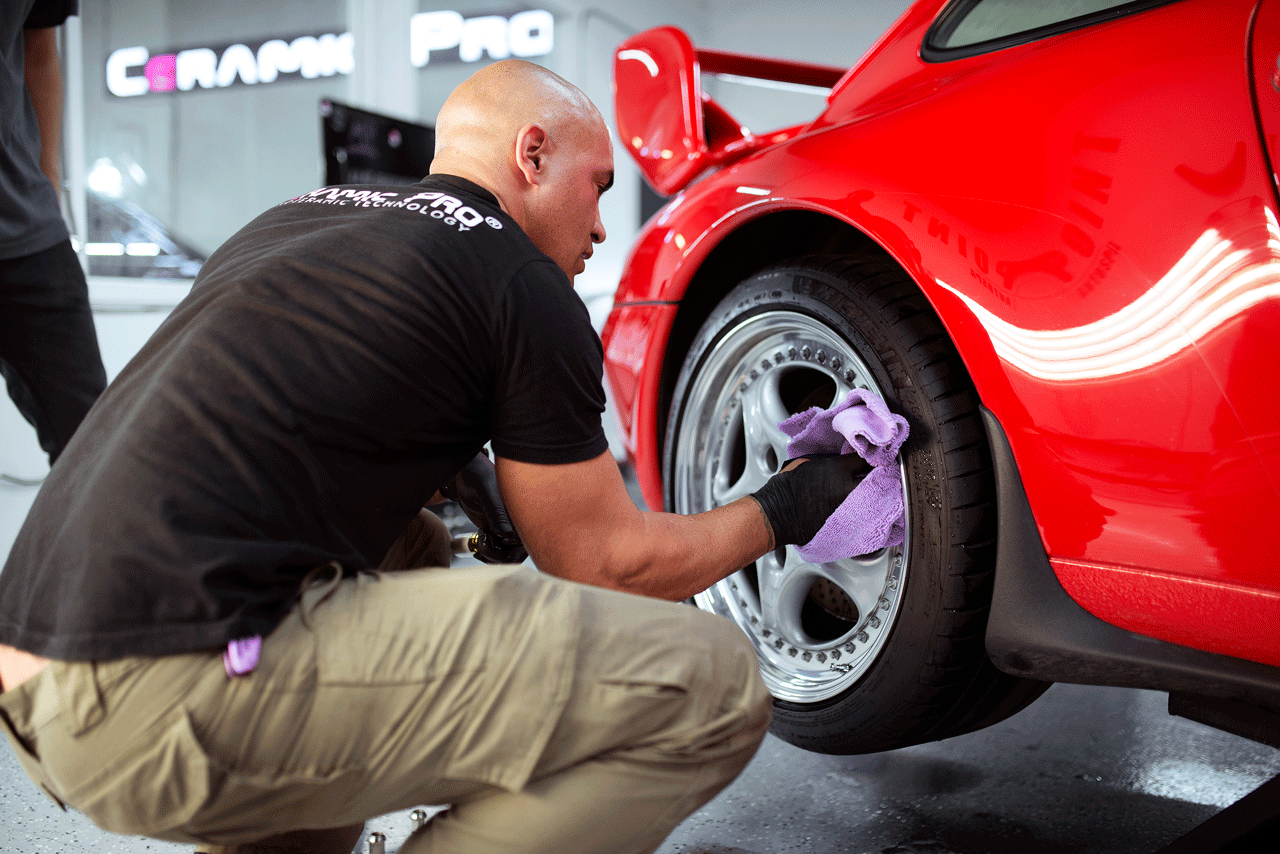
Sometimes car owners living in California or other dry weather states are restricted to using rinse-less car wash products. As you can see in the image above, this detailer is wrapping up the wheels using a rinse-less wash product.
You want to make sure that you really clean your car. To accomplish this, you need a solid car soap that is aggressive enough to remove those hard to remove contaminants, but gentle enough not to damage the paint surface. It should be wax-free – but doesn’t need to be pH neutral.
One of the best products that hundreds of our Ceramic Pro installers use for multiple uses is Americana Global Ceramic Maintenance Soap. It’s formulated to break down hard to remove debris, produces tons of suds, and has exceptional lubricity. You can also use this same shampoo for a maintenance soap after you coat the vehicle, as it’s infused with a tiny amount of SiO2 or silica dioxide, which helps to protect that coating.
*PRO TIP: NEVER complete this step in direct sunlight. It’ll cause the soap to stick to your paint – and that’s not a good thing.
Step 2: Surface Decontamination of Iron Particles
Once your car wash is complete, don’t worry about drying the vehicle. Just ensure you’ve completely rinsed off the vehicle. The next step is to remove iron deposits or what is commonly called “industrial fallout” that is trapped in the hard clear coat, and porous surfaces.
So – what’s industrial fallout? Basically, it’s microscopic particles of ferrous-based substances – or iron that is the result of metal burning or creating friction. When we apply our brakes, fine dust is created via the application of the pad to the rotor. This creates dust, floats in the air, and lands on vehicles.
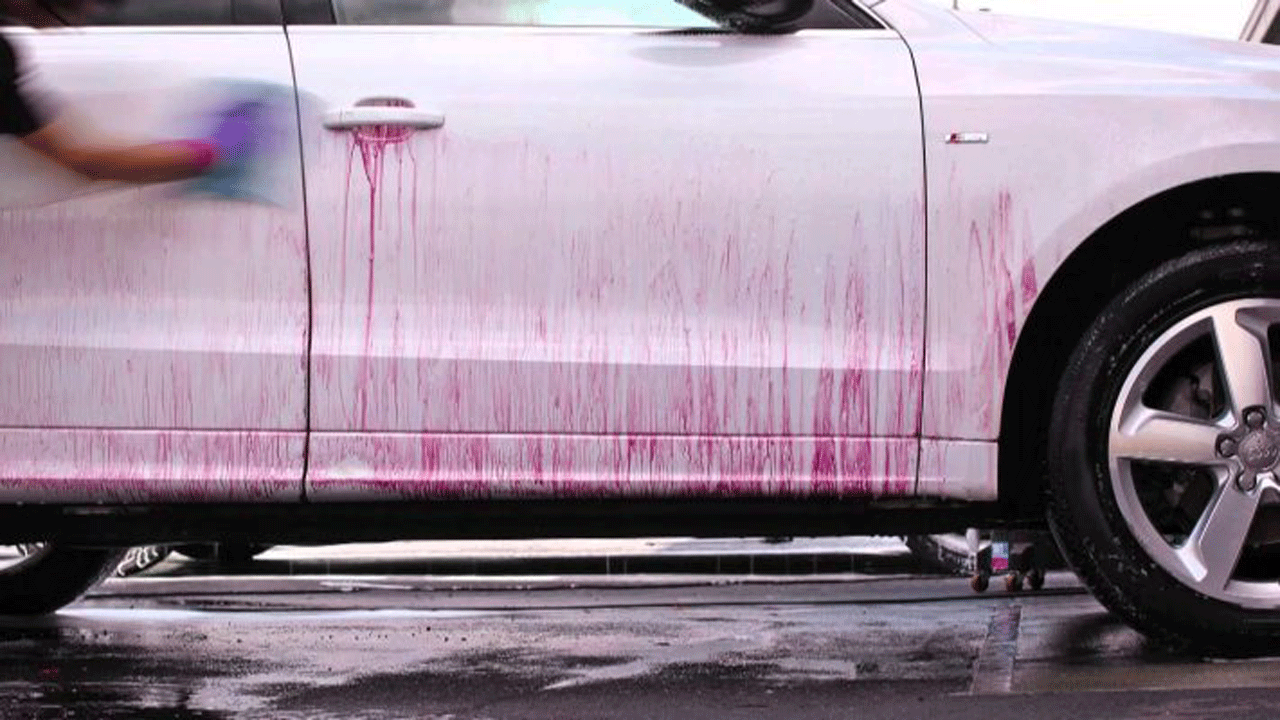
The purple you are looking at is tiny ferrous-based particles that are melting on the clear coat, as it takes a powerful chemical to accomplish this. So, make sure to wear some gloves, eye protection, and a mask when using any iron remover.
To decontaminate your vehicle’s paint and other areas, you’ll want to use a good iron remover spray. The one our techs prefer is Americana Global Release. It’s very simple to use. Just make sure the surface is wet, spray it on an area, let it dwell (or stand on the vehicle surface for about 3 minutes) then rinse off.
*PRO TIP – NEVER complete this step in direct sunlight. The iron remover is aggressive stuff and can dry quickly on the surface – even if it’s wet.
Step 3: Paint Correction
This is the step that most DIYers dread. And quite frankly, they should. Paint correction or polishing paint to remove swirl marks and other imperfections is a challenging project. If you cut too hard – you can remove the clear coat completely.
Believe it or not – it’s not that complicated. Many detailers and even prosumers tend to overthink the process – by mixing and matching polishing compounds with different pads. In fact, the combination of possible liquids to pads you can use to remove paint defects is more than 40-unique combos.
So – if you’re looking for a simple set-up, for average paint swirl marks and imperfections, here is your secret PRO TIP:
It’s a two-stage paint correction process.
- The first step uses the Americana Global 1500 cutting compound with a DA polisher – and the Americana Global Purple Max Cut Hybrid pad. It’s available in a 5 or 6-inch pad, that fits your DA polisher perfectly. This is to remove swirl marks, paint marring, stains from animal waste, and other imperfections.
- The final step is using Americana Finesse finishing compound with our Orange Medium Cut or Black Foam Finishing Pad. This step will help you smooth the paint surface – leaving a deep, clean, and scratch-free surface.
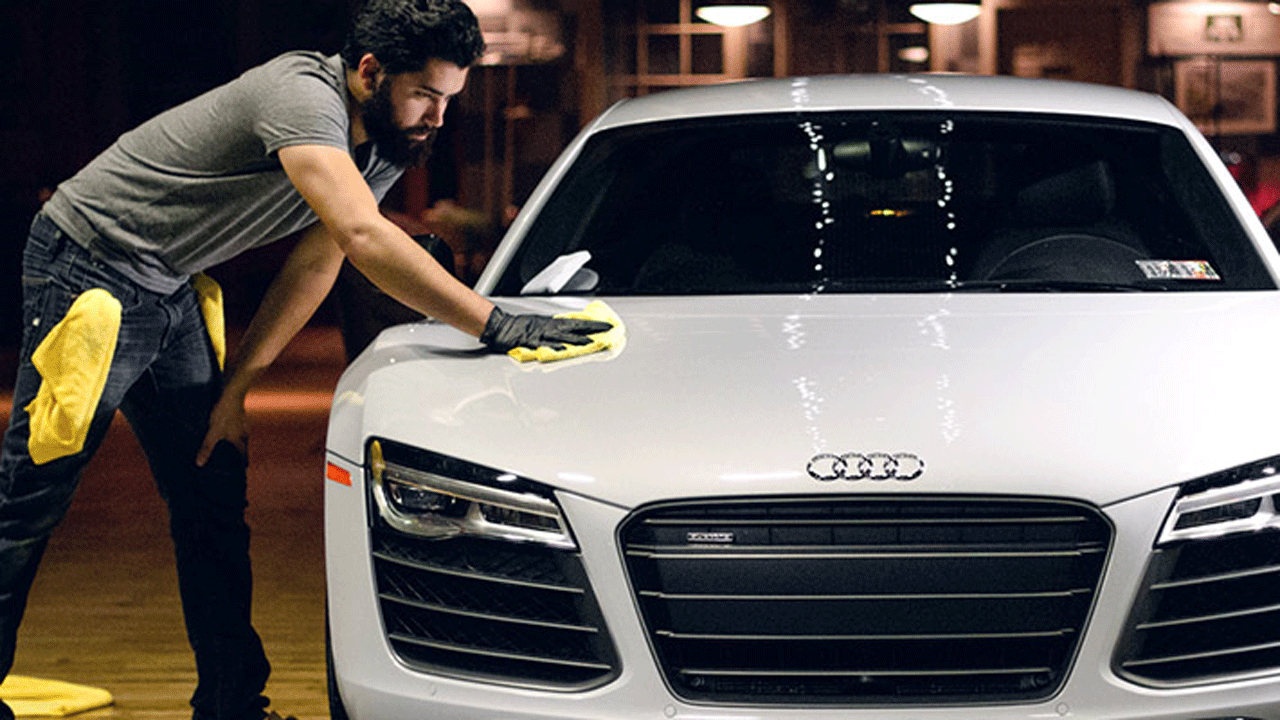
Step 4: Panel Wipe
When you have finished Washing, Claying, and polishing your vehicle, you are ready for the final step in prepping your car for ceramic coating. This is the panel wipe stage, where you use a special chemical degreasing agent that removes wax, oils, and other residue left from the polishing step. A great product used by many Ceramic Pro shops is Americana Global Stripper.
It’s very simple to use. Just spray on a clean microfiber cloth, wipe the vehicle surface, and then follow up with a clean microfiber towel to ‘buff’ off.
At this point, you’re ready for the ceramic coating, paint sealant, or other protective product. Of course, if you’ve read the information above, and though – this is a bit much for my comfort, there is an affordable and professional coating option to consider.
Let Ceramic Pro Detailers Handle It!
There are more than 3,500 Ceramic Pro authorized installation centers across North America. Each one offers Ceramic Pro packages – starting at our 6-month Sport Packages to our lifetime Gold Packages – which protects every porous section of your vehicle including paint, glass, wheels, and interior surfaces.
If you’d like to receive a free estimate for having a local detailer near you prep the vehicle and install one of our affordable packages, click the button below.